In my last post I emphasized some important aspects of home network security, but I skipped over the details of configuring web interfaces and SSH sessions with TLS (Transport Layer Security) support. The importance of using TLS is that this prevents passwords and other important information from traversing the network in plaintext (not encrypted). Although in an ideal world, a home network wouldn’t have any malicious devices sniffing the network for plaintext data, the reality is that supply chain attacks are occurring more frequently, and malware infections are more likely to happen now than ever.
The difference that TLS could make in such a situation, is that a data breach on your home network is less likely to occur, and a malware infection is detected and removed (either by manual means or automatically, such as malware detection updates, app stores removing and automatically uninstalling malicious apps) before any damage can be incurred. Additionally, aside from reducing the risk of a data breach, using TLS and other security practice whenever possible in your network (home network or not) can stop lateral moving threats from gaining a foothold and becoming an APT (advanced persistent threat). In this guide I will go over some security measures that can be taken for DietPi OS, Node-RED, Domoticz, Pi-hole, and security implications to consider when using MQTT.
DietPi SSH security
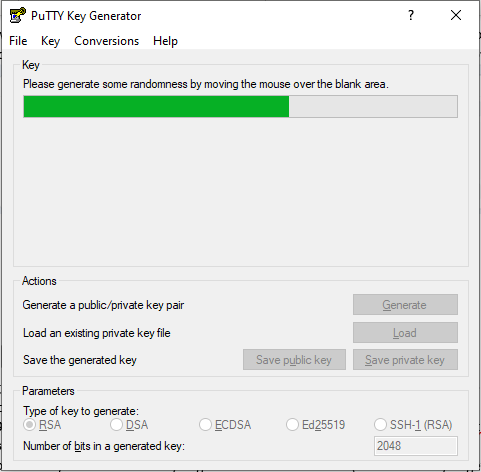
Open PuttyGen and click the Generate button. Move the mouse around the screen to generate some randomness until the progress bar is complete.
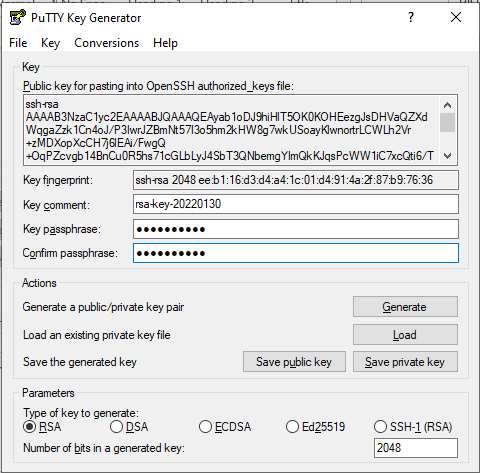
Enter a passphrase on the key and save the private key somewhere (and to a backup location for good measure). There is no expiration on this keypair to worry about.
Copy the entire public key string (beginning with ssh-rsa) at the top. SSH into the DietPi machine and create/edit the authorized keys file
mkdir ~/.ssh
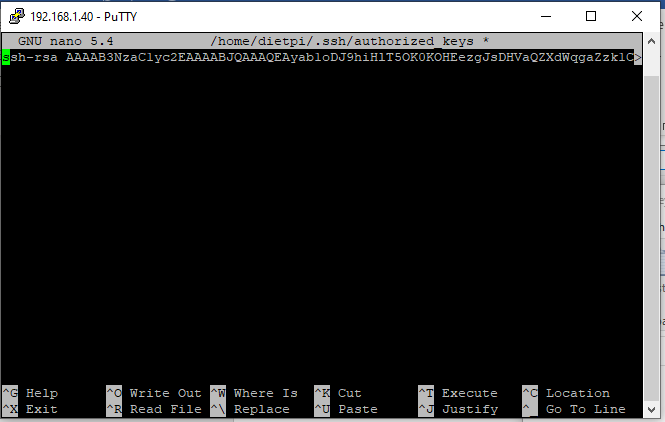
nano ~/.ssh/authorized_keys
Paste the public key into the file and save (Ctrl-X)Edit the DropBear SSH configuration
sudo cp /etc/default/dropbear /etc/default/dropbear.bak
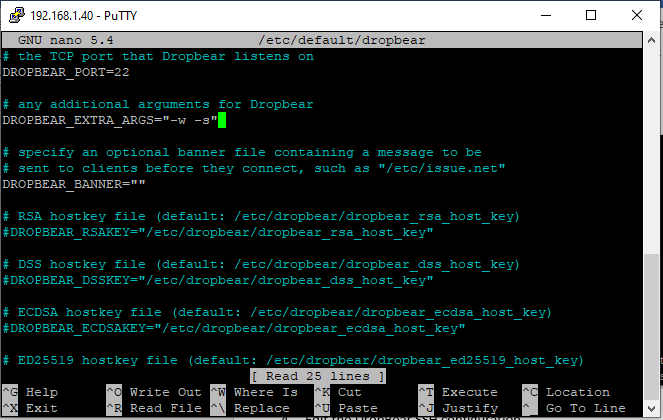
sudo nano /etc/default/dropbear
Edit the config file to disable root and password logins
DROPBEAR_EXTRA_ARGS="-w -s"
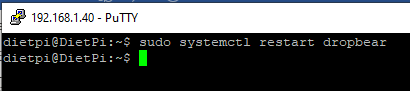
Save the file (Ctrl-X) and confirm.Restart the DropBear SSH service
sudo systemctl restart dropbearIf using the OpenSSH service included with DietPi (non-default), run the following and make the following changes
sudo cp /etc/ssh/sshd_config /etc/ssh/sshd_config.bak
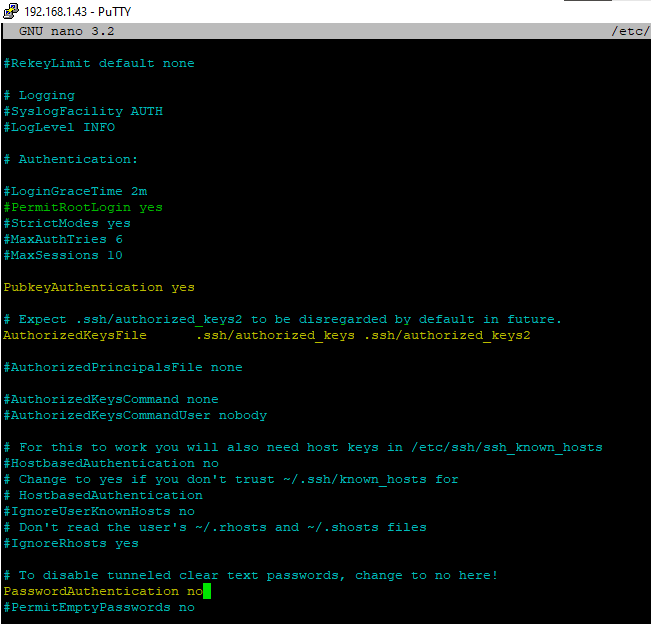
sudo nano /etc/ssh/sshd_config
Comment out the PermitRootLogin line
Uncomment the PubkeyAuthentication line
Uncomment the AuthorizedKeysFile line
Uncomment the PasswordAuthentication line and change to no
Save with Ctrl-X
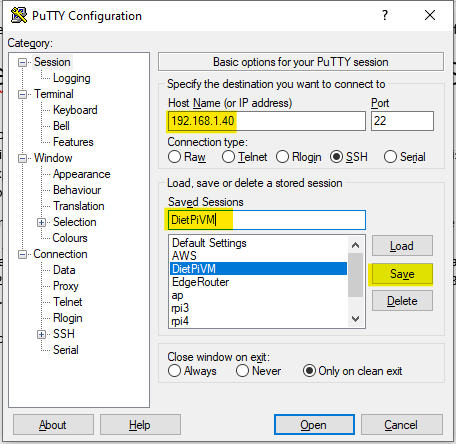
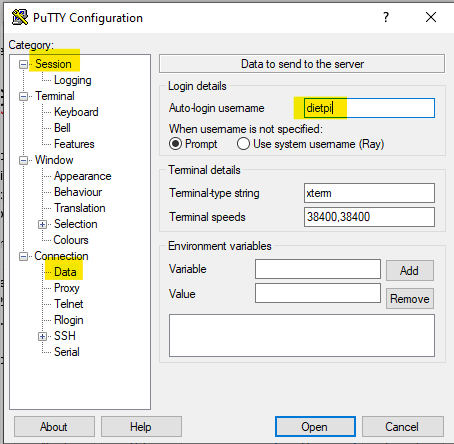
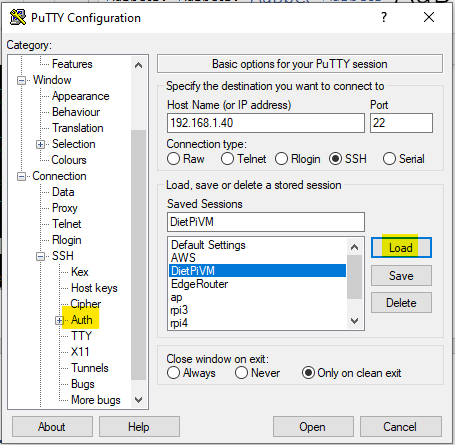
sudo systemctl restart sshdOpen PuTTY, select the session, and click the Load button. Navigate to Connection -> SSH -> Auth
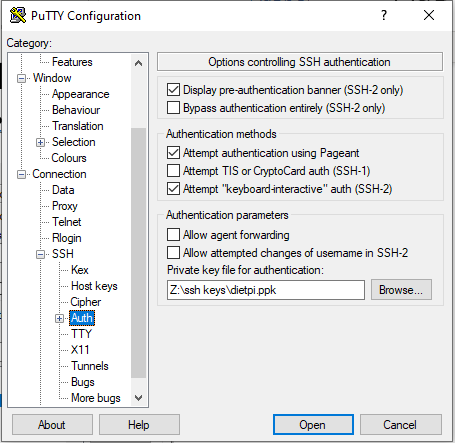
Add the password protected private key that was created earlier. Be sure to go back to Session and save the session
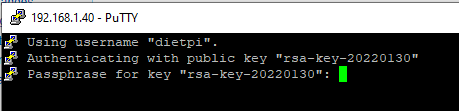
Open the session and you are now prompted to enter the password to decrypt the private key and you should be more securely connected via SSH now.
Local DNS names (for web SSL certs)
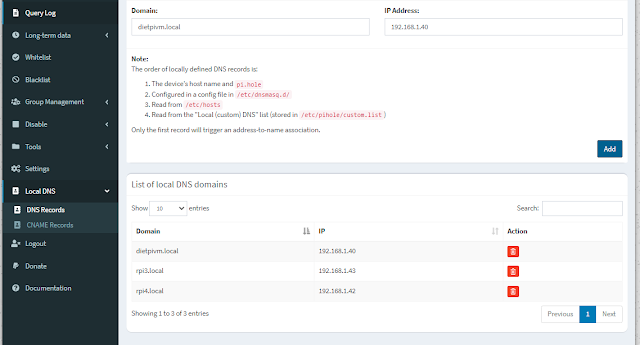
Log into both Pi-hole web interfaces (if you have two) and set the local DNS names you will be using to access your devices (Settings -> Local DNS -> DNS records). Usually this would be the hostname of the device followed by .local. This is required for web site SSL certificates to work as intended on the local network.
Node-RED
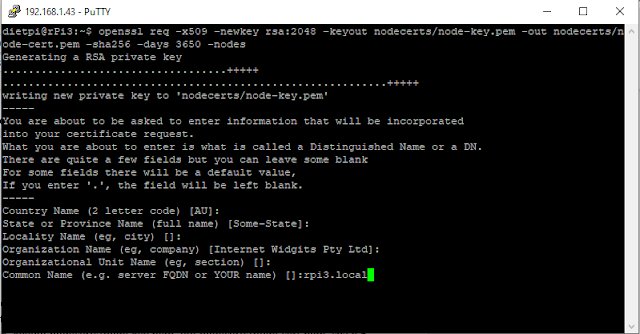
Run the following command to generate the required key and certificate. This creates a certificate that is valid for 10 years (and the -nodes flag disables the requirement to set a password on the certificate)
mkdir ~/nodecerts
openssl req -x509 -newkey rsa:2048 -keyout nodecerts/node-key.pem -out nodecerts/node-cert.pem -sha256 -days 3650 -nodes
You don’t need to enter any information until you get to the common name (hit enter until you get to this prompt). For the common name enter the DNS name of the device you are securing (that you configured on the Pi-hole web interfaces).
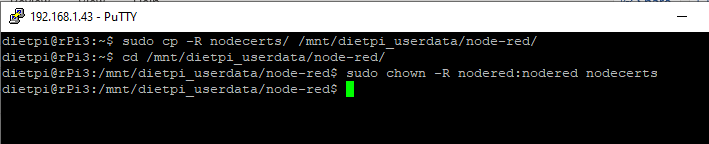
Copy the nodecerts directory to the Node-RED installation directory (this command will work for Node-RED installed on DietPi
cp -R nodecerts/ /mnt/dietpi_userdata/node-red/
Then change directory to the Node-RED install location
cd /mnt/dietpi_userdata/node-red/
Change ownership of the nodecerts directory to the Node-RED user
sudo chown -R nodered:nodered nodecertsTo generate a password hash that will be used to secure Node-RED, enter the command
node-red-admin hash-pw
This hash translates to “Examplepassword” which I’m not actually using. Copy the hash (selecting the string will automatically copy it into the clipboard) and save it to enter into the settings.js file a few steps later.Make a backup of the settings.js file
sudo cp settings.js settings.js.bak
Edit the settings.js file
sudo nano settings.js


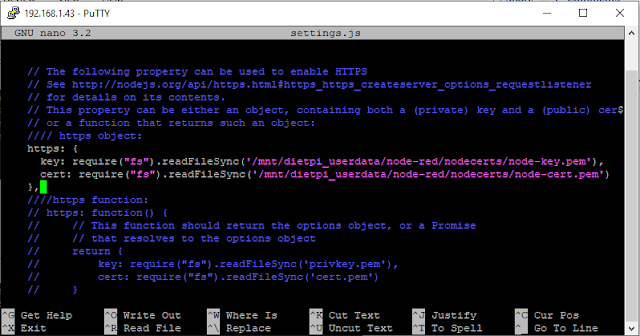
Hit Ctrl-W, type cert: and hit enter to find the required configuration stanza
Uncomment out the lines like in the screenshot (delete the slashes at the beginning of the lines)
In the key path paste: /mnt/dietpi_userdata/node-red/nodecerts/node-key.pem
In the cert path paste : /mnt/dietpi_userdata/node-red/nodecerts/node-cert.pemHit Ctrl-W and search for adminAuth. Uncomment out the lines like below and replace the password hash with the one you created.
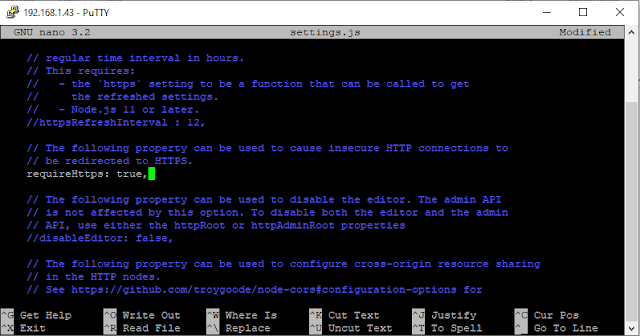
Hit Ctrl-W again and search for requireHttps. Uncomment out this line.
Hit Ctrl-X and confirm to save the file. Run the following command to restart Node-RED
sudo systemctl restart node-red


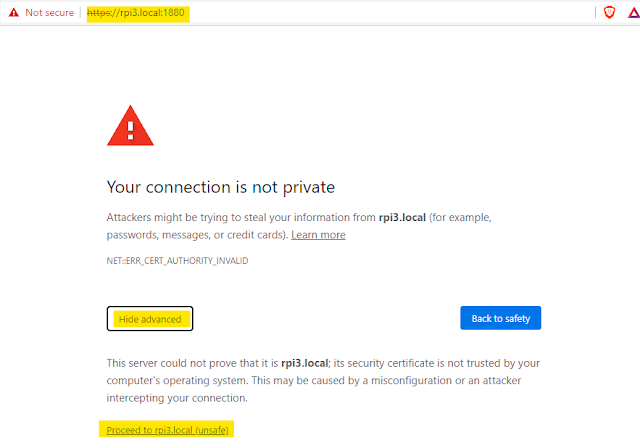
Navigate to Node-RED with the HTTPS URL, the DNS name, and don’t forget port 1880. This warning is displayed because the certificate is self-signed and not issued by a public certificate authority. It is possible to add the certificate as a trusted certificate but that differs per browser/operating system. To bypass the warning, click Advanced, and Proceed to [DNS name]
If running into issues, the command sudo journalctl -b -u node-red can be run to look at the service logs.
The certificate and expiration date are visible from the browser

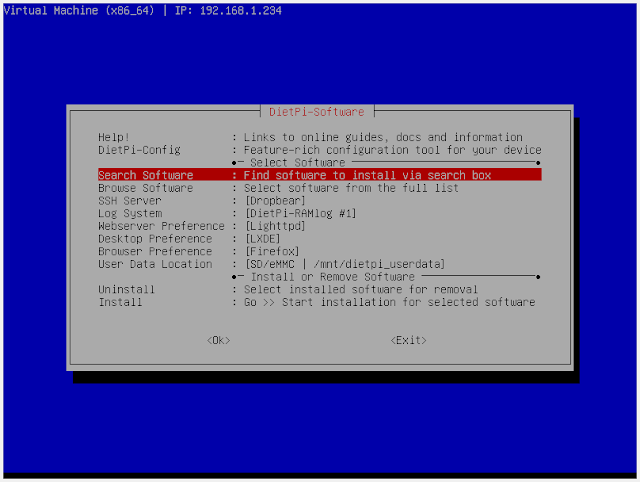
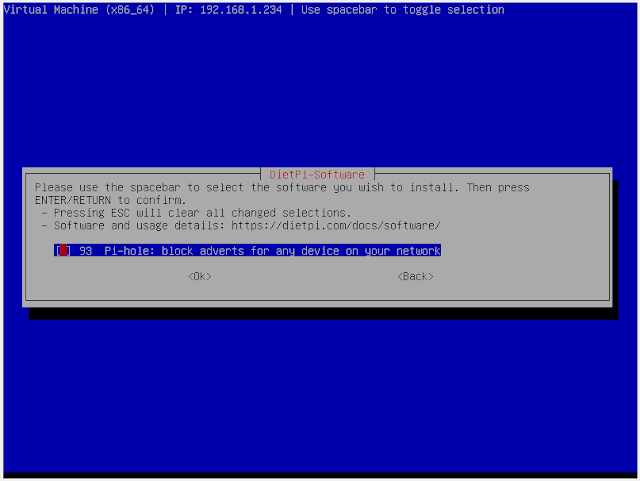
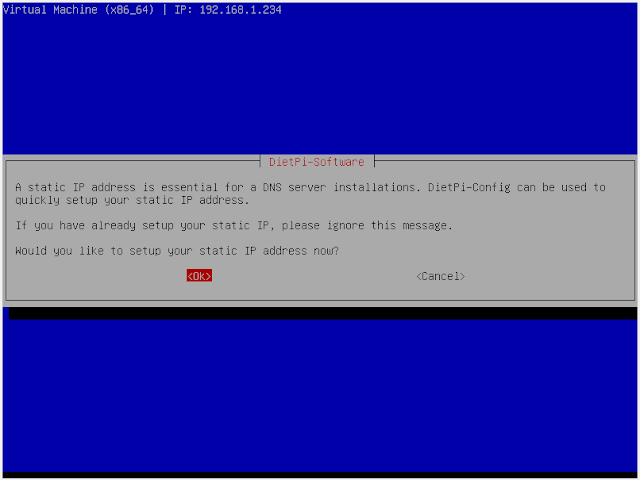
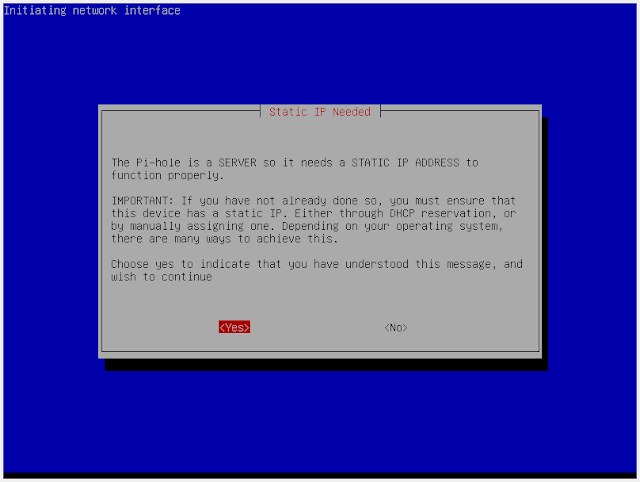
Pi-hole
Unfortunately, due to the way that Pi-hole is installed with DietPi, it doesn’t seem so straightforward to use a self-signed certificate to configure on the Pi-hole web interface. If you use dietpi-letsencrypt (which is only for public facing hostnames), DietPi should automatically configure SSL for your Pi-hole web interface, but we aren’t doing that (can’t think of any good reasons to have it public facing). Fortunately, we can still use SSH tunneling to prevent the password from being transmitted in plaintext.
Edit the PuTTY session you use to SSH to your Pi-hole host. Navigate to Connection -> SSH -> Tunnels. Enter the desired source port (to connect via your local machine) and set the destination IP and port to match that of the Pi-hole instance. For a second Pi-hole you could source port 81 for the local connection. Save and open the session.
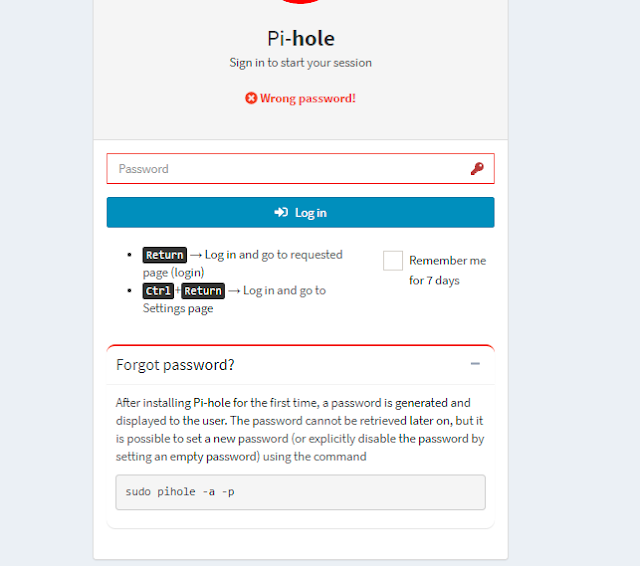
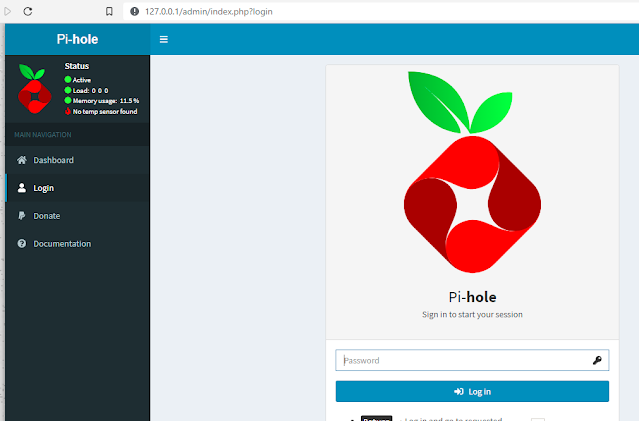
After authenticating via SSH, the tunnel is now connected, and you can log into the Pi-hole locally via the tunnel without transmitting the password over the network via plaintext
http://127.0.0.1/admin/SSH tunneling can also be a useful tool in bypassing a network firewall in a corporate network, for example to test the web interface on a development machine where development is being done locally, yet a firewall entry hasn’t yet been created to allow traffic through.

Domoticz
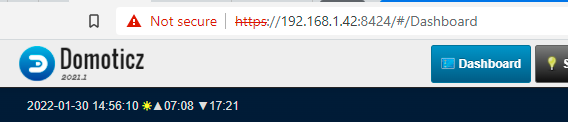
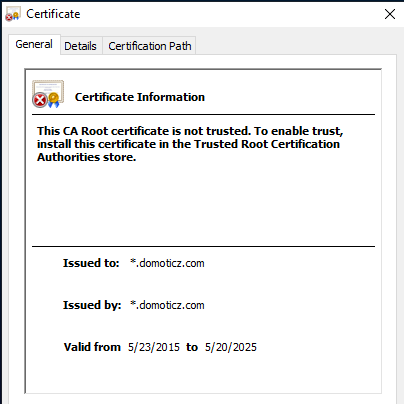
The Domoticz install that is optimized for DietPi fortunately does have a built-in self-signed SSL certificate. The HTTPS web interface is available on port 8424:
This certificate is only valid for a few years but will likely be updated when Domoticz is updated.
MQTT
Unfortunately, although both the Mosquitto MQTT broker and Domoticz support TLS, ESP8266 devices are not built with MQTT/TLS support due to the lack of device memory. ESP32 devices can however be built to support MQTT/TLS. The M5stack ESP32 based devices support MQTT/TLS configuration via UiFlow (blockly based design system) or with Arduino libraries. Tasmota for ESP32 appears to support MQTT/TLS which I will try to explore soon. The ESPurna firmware also appears to support MQTT/TLS however this would require building the firmware yourself. The ESPeasy firmware doesn’t even appear to support it. So, at this point I have the following thoughts regarding securing MQTT:
The MQTT broker password could easily be sniffed on the local area network and makes the broker susceptible to Denial of Service attacks (including “Denial of Wallet” attacks if you have an MQTT bridge to AWS IoT core like I do), data corruption attacks, and not to mention the loss of privacy regarding IoT data sent via MQTT (although sensor data doesn’t seem very revealing).
The MQTT broker password should *definitely not* be re-used anywhere (not that you should be re-using passwords at all), even on the local network, being that if a data breach occurs that would likely be one of the first credentials to be exfiltrated. This would facilitate the ability of a lateral-moving threat to move across your network and become an APT (advanced persistent threat).
MQTT with TLS support should be explored with priority. This means either compiling firmware that supports MQTT or purpose-built Arduino-based code (or potentially FreeRTOS) that supports only the functionality required for a given implementation (including of course, storing the required key/certificate file required for TLS).
In the meantime, an IoT specific VLAN could be implemented to isolate the MQTT traffic to the same network as the MQTT broker and IoT devices, however this is not so feasible for home networks (and even though I have an EdgeRouter which supports such configuration, I would probably mess it up).